This Android backup guide starts with a moment you’ve probably had, or will: your phone screen freezes mid-restart, and it just… doesn’t come back on. No warning, no “last chance” pop-up. Just a black screen and a sinking feeling in your stomach.
That happened to me two years ago, right after I’d switched carriers and hadn’t backed up in months. I lost every photo from a trip I’d taken three weeks earlier, and there was no dramatic story behind it — the phone just didn’t turn back on, and that was that.
Here’s the thing: backing up your Android phone takes less time than reading this sentence out loud, twice. Once it’s set up, you never have to think about it again. This Android backup guide walks you through every piece, one step at a time.
Setting Up Automatic Backup With Your Google Account
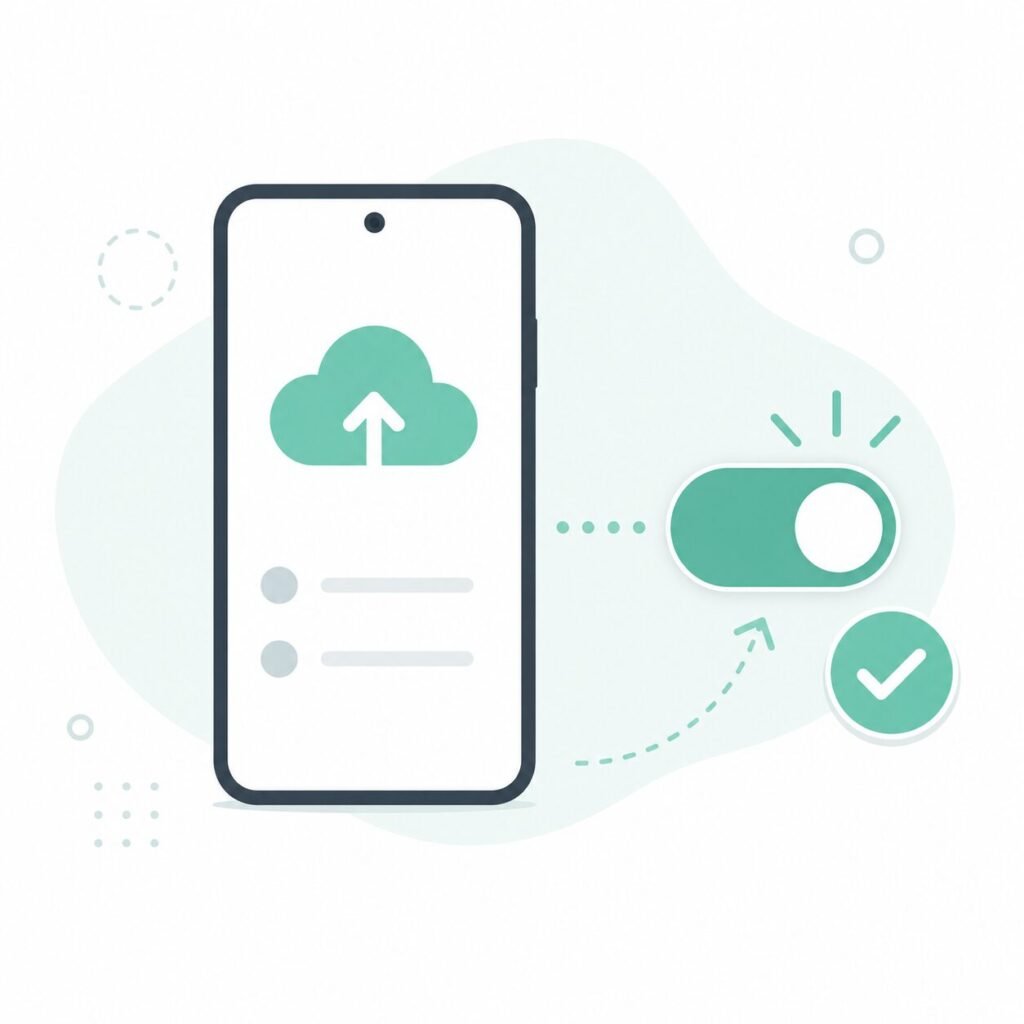
Android’s built-in backup runs quietly in the background, but a lot of people never actually turn it on — or assume it’s already working when it isn’t.
Where to find it: Go to Settings → Google → Backup, then make sure the toggle is switched on. On some Samsung phones, this lives under Settings → Accounts and backup → Back up data.
Once it’s on, your phone automatically saves:
- App data and settings
- Call history
- Device settings (Wi-Fi passwords, wallpaper, display settings)
- SMS text messages (on most devices)
What it usually won’t cover: photos and videos in full resolution, and some third-party app data that developers choose to exclude. That’s why the next two steps matter just as much as this one.
I’ve said this before and I’ll say it again — most people over-trust automatic backup. Treat it as a starting point rather than something to blindly rely on, and get in the habit of checking the “last backup” timestamp under that same settings menu before you assume you’re covered.
Samsung Smart Switch: The Backup Tool Most Galaxy Users Ignore

If you’re on a Samsung Galaxy phone, you already have a second, more thorough backup tool sitting on your device: Smart Switch.
Phone-to-Phone Transfer
Smart Switch was built for moving everything — apps, photos, messages, settings — from an old phone to a new one in one go. But you can also use it as a standalone backup tool even if you’re not upgrading yet.
Backing Up to a PC or Mac
Open the Smart Switch desktop app, connect your phone with a USB cable, and select Backup. This creates a full local copy of your device, stored on your computer instead of the cloud — which is genuinely useful if you’re not confident in your storage plan or want an offline copy as insurance.
One tip I picked up the hard way: run the PC backup right before any major software update. Updates rarely go wrong, but “rarely” isn’t “never,” and a five-minute backup beats a bad afternoon.
Google Photos: Your Safety Net for Pictures and Videos

Photos and videos are usually the thing people miss most after losing a phone — and they’re the one category standard Android backup doesn’t fully cover.
To turn it on:
- Open the Google Photos app
- Tap your profile icon → Photos settings
- Tap Backup and switch it on
- Choose your upload quality (Storage saver vs. Original quality)
If you’ve already run into storage warnings on your device, this setting works hand-in-hand with the cleanup habits I walked through in my phone storage guide — freeing up space on your phone doesn’t mean losing the photos themselves, since they’re already safe in the cloud.
Quick note on “Free up space”: this button deletes the local copies of photos that are already backed up — it doesn’t touch your cloud copies. Once you know that, the button stops feeling like it’s about to erase something important.
What to Check Before You Restore Any Data
Restoring is usually simple, but a few small mistakes cause most of the headaches I hear about.
- Don’t restore over a phone that’s mid-update. Let the OS finish updating first.
- Check your Google account is the same one used for backup. Restores fail silently more often than you’d expect when accounts don’t match.
- Give it time. Photo and app restores can take 20–30 minutes over Wi-Fi depending on your backup size — resist the urge to restart the process if it looks stuck at first.
- Keep your old phone until the new one is confirmed working. This is the one habit that has saved me more than once.
Frequently Asked Questions
Do I need Smart Switch if Google’s automatic backup is already on? Google’s backup already handles app data, settings, and messages, so think of Smart Switch as backup for your backup. It adds a full local copy of your device on your computer, which comes in handy if you’re not fully sold on relying on the cloud alone.
Why is my restore taking so long? Restore speed depends on how much you backed up and your Wi-Fi connection. Anything from a few minutes to 30+ minutes is normal for a full restore — it’s rarely actually stuck.
Will backing up delete anything from my current phone? No. Backing up only copies your data elsewhere — nothing is removed from your phone in the process.
Can I back up without Wi-Fi? Mobile data works in a pinch, but it’s not what I’d recommend by default. Photo and video backups can chew through a data plan faster than most people expect, so save the big backups for a Wi-Fi connection when you can.
Start Today, Not “Someday”
None of this takes long, and all three steps run quietly in the background once they’re set up. Turn on Google’s automatic backup, back up through Smart Switch if you’re on a Galaxy device, and switch on Google Photos backup — then stop thinking about it. Bookmark this Android backup guide so you can walk through it again whenever you switch phones.
An iPhone backup guide is coming soon — stay tuned!
📍 Read Next: Switching between Android and iPhone in your household? The iPhone version of this guide — covering iCloud and Finder backups — is on its way. Bookmark The Complete iPhone Backup Guide so you don’t miss it.